

Aesthetic Travel Photography Tips for Beginners
Aesthetic travel photography is all about preserving these moments and telling the story of your journey. For beginners, it can be daunting to know where to start, but with a few simple tips and tricks, you can elevate your travel photos from ordinary to extraordinary. In this world of visual storytelling, the right techniques can make all the difference.
Master Composition Basics
To capture stunning aesthetic travel photos, it’s essential to understand the basics of composition. The Rule of Thirds is a fundamental principle that can instantly elevate your shots, and it’s simple to apply: imagine your image is divided into thirds both horizontally and vertically, and place interesting elements along these lines. This technique helps create balanced and visually appealing compositions, drawing the viewer’s eye to the most important parts of the scene.
Leading lines are another powerful tool in aesthetic travel photography, guiding the viewer’s gaze through the image and creating a sense of depth and perspective.
Look for natural lines like roads, paths, shorelines, or architectural features that can lead the eye to the subject or point of interest. By incorporating leading lines into your composition, you can add dynamism and energy to your photos.
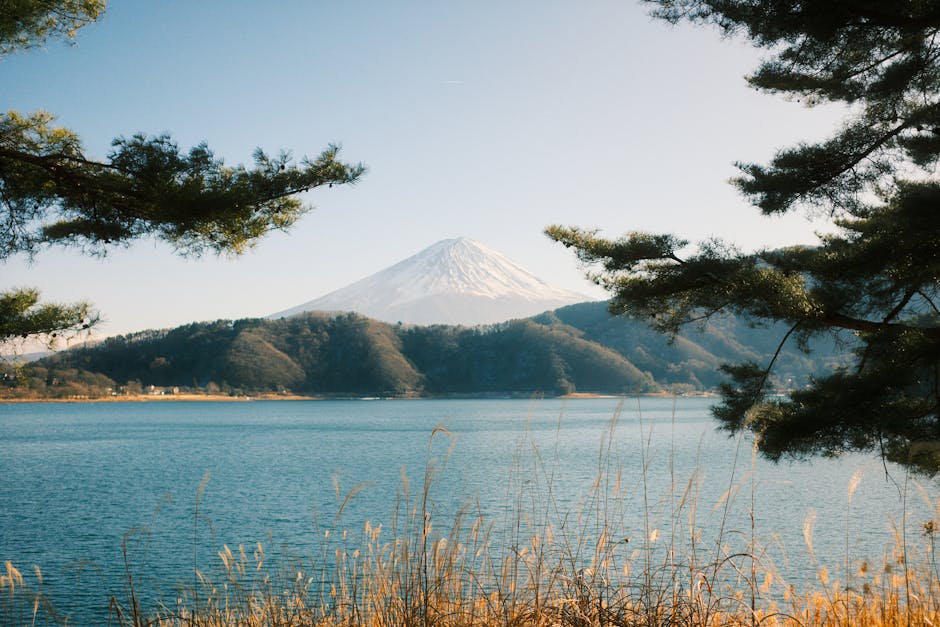
Symmetry is also a key element in creating visually stunning shots, particularly in architecture, landscapes, or reflective surfaces. To achieve symmetry, look for mirror-like reflections, arches, or patterns that can be centered in your frame.
Some practical tips to keep in mind include using a tripod to ensure a straight horizon, shooting during the golden hour for soft, warm light, and experimenting with different angles and perspectives to add creativity to your compositions.
Harness Natural Light
When it comes to capturing stunning travel photos, natural light is your best friend. Soft, warm, and atmospheric lighting can elevate your images from mere snapshots to works of art. The golden hour, which occurs just before sunrise and after sunset, is a prime time for photography, as the soft, golden light casts a warm glow on your subject.
Blue hour, on the other hand, offers a cool, serene atmosphere, with the soft blue tones adding depth and mood to your photos. Overcast skies, often overlooked, can also provide a soft, diffused light that minimizes harsh shadows and brings out the vibrant colors of your scene.
To make the most of these lighting conditions, try to plan your shoots around these times. For golden hour, arrive at your location about 30 minutes before sunrise or sunset to get set up and composed. For blue hour, wait until about 20 minutes after sunset, when the sky has taken on that deep blue hue.
Remember, the key to harnessing natural light is to be patient and flexible, as the best light is often fleeting. By working with the natural light, you can add a level of sophistication and emotion to your travel photos that will leave your viewers in awe.
Develop Your Unique Color Palette
To create a cohesive and visually stunning travel photography portfolio, developing a unique color palette is essential. Consistent color choices and tones can define the mood and aesthetic of your entire collection, setting you apart from other photographers.
Consider the emotions and atmosphere you want to evoke with your photos, and think about the colors that resonate with those feelings.
Warm and golden tones can evoke a sense of nostalgia and comfort, while cool and muted tones can create a sense of calmness and serenity. Experiment with different editing styles and presets to find the color palette that works best for you.
Some popular color palettes for travel photography include earthy tones, pastel hues, and moody blues, each evoking a distinct mood and atmosphere.
When selecting a color palette, consider the destinations you frequent and the types of scenes you typically capture. For example, if you often photograph beach landscapes, a palette with blues and greens might be fitting, while a palette with warm oranges and yellows might be more suitable for desert landscapes.
Remember, consistency is key, so try to stick to your chosen color palette across your entire portfolio to create a cohesive visual identity.
By developing a unique color palette, you’ll be able to create a recognizable style that sets your travel photography apart and draws viewers in.
Focus on Details and Storytelling
When wandering through a new city, it’s easy to get caught up in capturing the grand, sweeping vistas, but some of the most compelling photographs often come from focusing on the small, intricate details.
A beautifully crafted doorway, the vibrant colors of a local market, or the delicate patterns on a traditional textile can all tell a deeper story about your travel experiences. By zooming in on these details, you can create images that are not only visually striking but also rich in narrative and emotional resonance.
To start capturing these intimate moments, try to slow down and really observe your surroundings. Notice the way the light falls on a particular scene, the textures of the buildings, or the expressions on people’s faces.
These small elements can add depth and authenticity to your photographs, making them feel more like a personal reflection of your journey rather than just a postcard-perfect snapshot.
Some practical ways to incorporate this approach into your photography include getting up close to your subject, using a macro lens or a prime lens with a wide aperture to create a shallow depth of field, and experimenting with different angles and compositions to add visual interest.
For example, you might capture the intricate carvings on a temple wall, the steam rising from a street food vendor’s cart, or the way a local artisan’s hands move as they work on a traditional craft.
Embrace Unique Perspectives
To capture truly memorable travel photos, it’s essential to experiment with unique perspectives that add depth and intrigue to your images.
Shooting from low or high angles can dramatically alter the mood of a scene, making familiar sights appear fresh and exciting. For instance, lying on the ground to photograph a sprawling monument from below can create a sense of grandeur and awe.
Reflections are another powerful tool for adding visual interest to your photos, whether it’s the shimmering surface of a lake, the polished floor of a historic building, or the misty window of a train.
These reflective surfaces can not only add symmetry and beauty to your compositions but also tell a story about the environment and atmosphere of the place you’re visiting.
When experimenting with unique perspectives, consider the following techniques to enhance your aesthetic travel photography:
- Shoot through natural frames like archways, doorways, or tree branches to add context and depth to your images
- Use reflections in water, glass, or metal to create symmetrical compositions or abstract patterns
- Climb to a high vantage point, like a hill or a skyscraper, to capture the sprawling landscape below and convey a sense of scale and geography.
Simple Editing for a Cohesive Look

To achieve a cohesive look in your travel photography, editing plays a crucial role. A well-edited photo can elevate the overall aesthetic of your image, making it more visually appealing and consistent with your personal style.
One of the most effective ways to do this is by using mobile apps that offer a range of editing tools and filters.
The goal is to enhance your photos without over-editing them, keeping the natural essence of the scene intact. For instance, adjusting the brightness, contrast, and saturation levels can make a significant difference in the overall look of your photo.
You can use apps like VSCO or Lightroom Mobile to apply a consistent aesthetic style to all your photos, giving your travel photography a unique and recognizable flair.
Some key editing techniques to focus on include adjusting the exposure, tweaking the color palette, and adding a touch of texture or grain to give your photos a more organic feel.
By mastering these basic editing skills and using the right mobile apps, you can transform your travel photos into stunning, cohesive pieces of art that reflect your personal style and creative vision.
With practice and patience, you’ll be able to develop a distinct aesthetic that sets your travel photography apart and leaves a lasting impression on your audience.
Make The Most Of It
To take your aesthetic travel photography to the next level, remember to shoot during the golden hour, experiment with different angles, and don’t be afraid to get creative with editing. With practice and patience, you’ll be capturing stunning images that transport your viewers to new and exciting destinations. Save this pin for your next photography adventure and get ready to tell the story of a lifetime, one frame at a time.
Frequently Asked Questions
How do I make my travel photos look more aesthetic?
To achieve an aesthetic look, focus on consistent composition, leveraging natural light, developing a harmonious color palette, and applying a cohesive editing style across your photos.
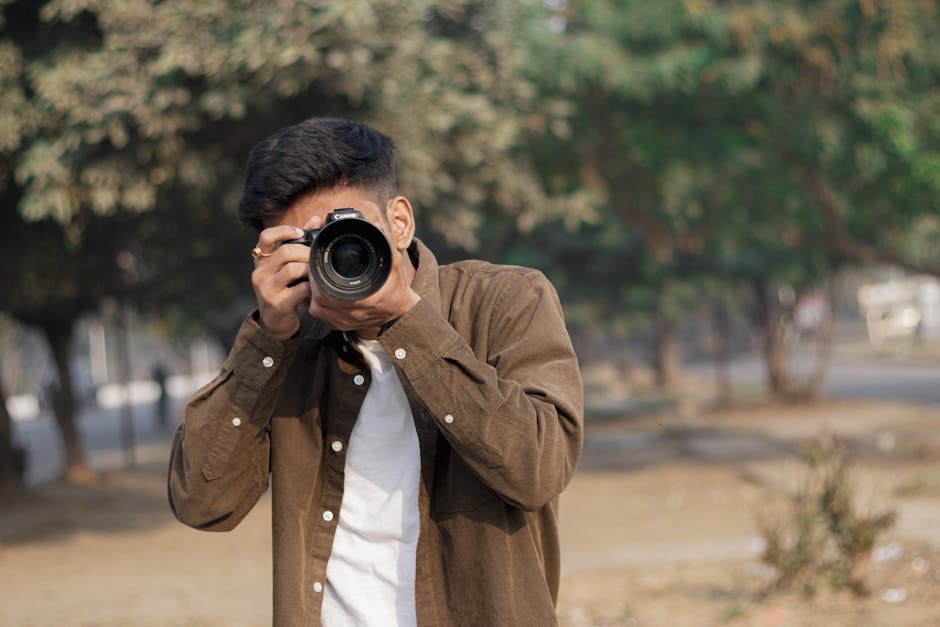
What are essential gear for beginner aesthetic travel photography?
For beginners, a smartphone with a good camera, or a mirrorless camera with a versatile lens, is sufficient. A small tripod and a remote shutter can also be helpful for certain shots.
How can I find good photo spots while traveling?
Research your destination beforehand using platforms like Instagram and Pinterest, look for unique viewpoints, explore off-the-beaten-path locations, and observe how light interacts with your surroundings throughout the day.
What free editing apps are best for aesthetic travel photos?
Popular free apps for aesthetic travel photo editing include Snapseed, VSCO (free features), and Lightroom Mobile (free features). These offer powerful tools for color correction, exposure adjustments, and applying filters.
How can I improve my travel photography composition?
Practice using the Rule of Thirds, identify leading lines that draw the eye, look for symmetry, frame your subjects naturally, and experiment with negative space to simplify your images.